Are you struggling with limited space in your kitchen?Do you often wish you could find a clever way to organize your pots, pans, and pantry items...
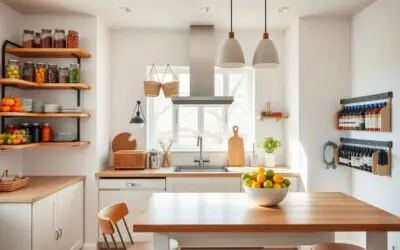
Maximize Your Space with Creative DIY Kitchen Storage Solutions
read more
Are you struggling with limited space in your kitchen?Do you often wish you could find a clever way to organize your pots, pans, and pantry items...

Are you tired of your kitchen's outdated look?A weekend kitchen makeover can breathe new life into your space without the need for a major...

Are you a home DIY enthusiast looking to take your projects to the next level without breaking the bank?Investing in tools doesn't have to mean...
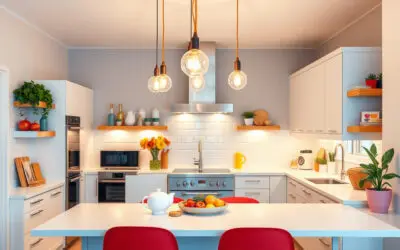
When it comes to transforming your kitchen into a bright and inviting space, one of the simplest yet most impactful changes you can make is through...
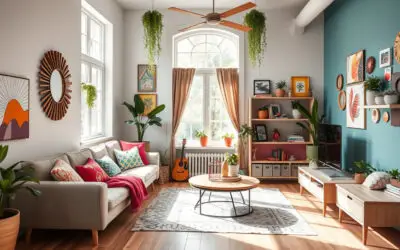
Are you looking to refresh your living space without breaking the bank?DIY home improvement projects offer a fantastic opportunity to enhance your...
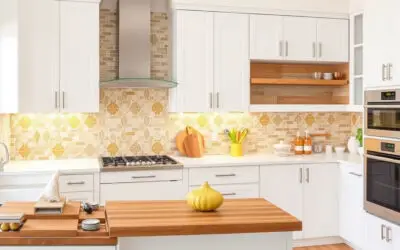
Are you looking to give your kitchen a fresh look without breaking the bank?A stylish backsplash can dramatically transform your space, providing...