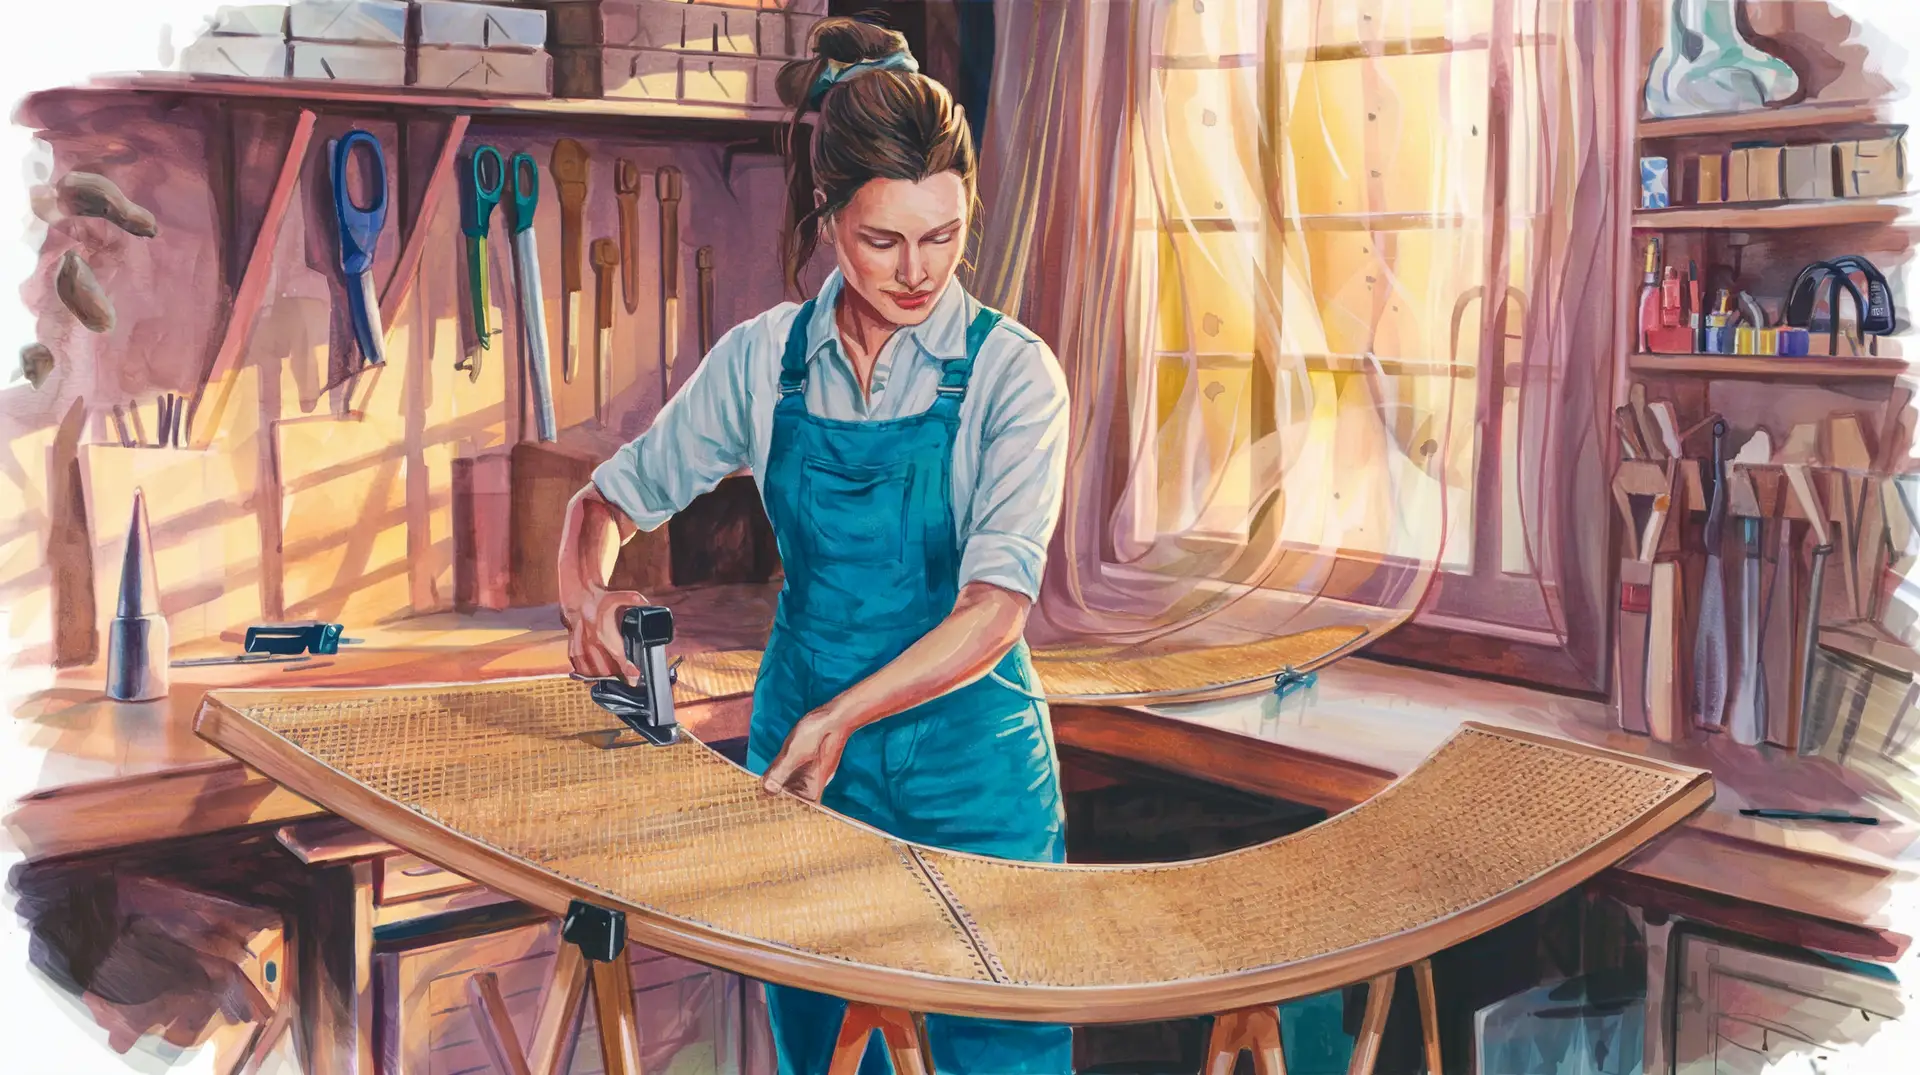
(Or: How to Attach Rattan to Flat Panels, Curved Surfaces, and Your Loftiest Aspirations) Now that you’ve selected your materials, soaked your...
Application Techniques
read more
(Or: How to Attach Rattan to Flat Panels, Curved Surfaces, and Your Loftiest Aspirations) Now that you’ve selected your materials, soaked your...
Every epic tale begins with a union. Helen of Troy had her face, Arthur had his sword, and you, dear reader, have choices. Before a single staple is...

aka..( How to Bathe Your Cane and Convince the Wood It’s Ready for Commitment) Before any rattan meets wood in holy (or slightly sticky) matrimony,...

The Not-So-Mad Science of Chicken Breeding: A Backyard Guide with Feathers, Genes, and a Dash of Wit Introduction: Genetics, Grit, and a Cup of Tea...

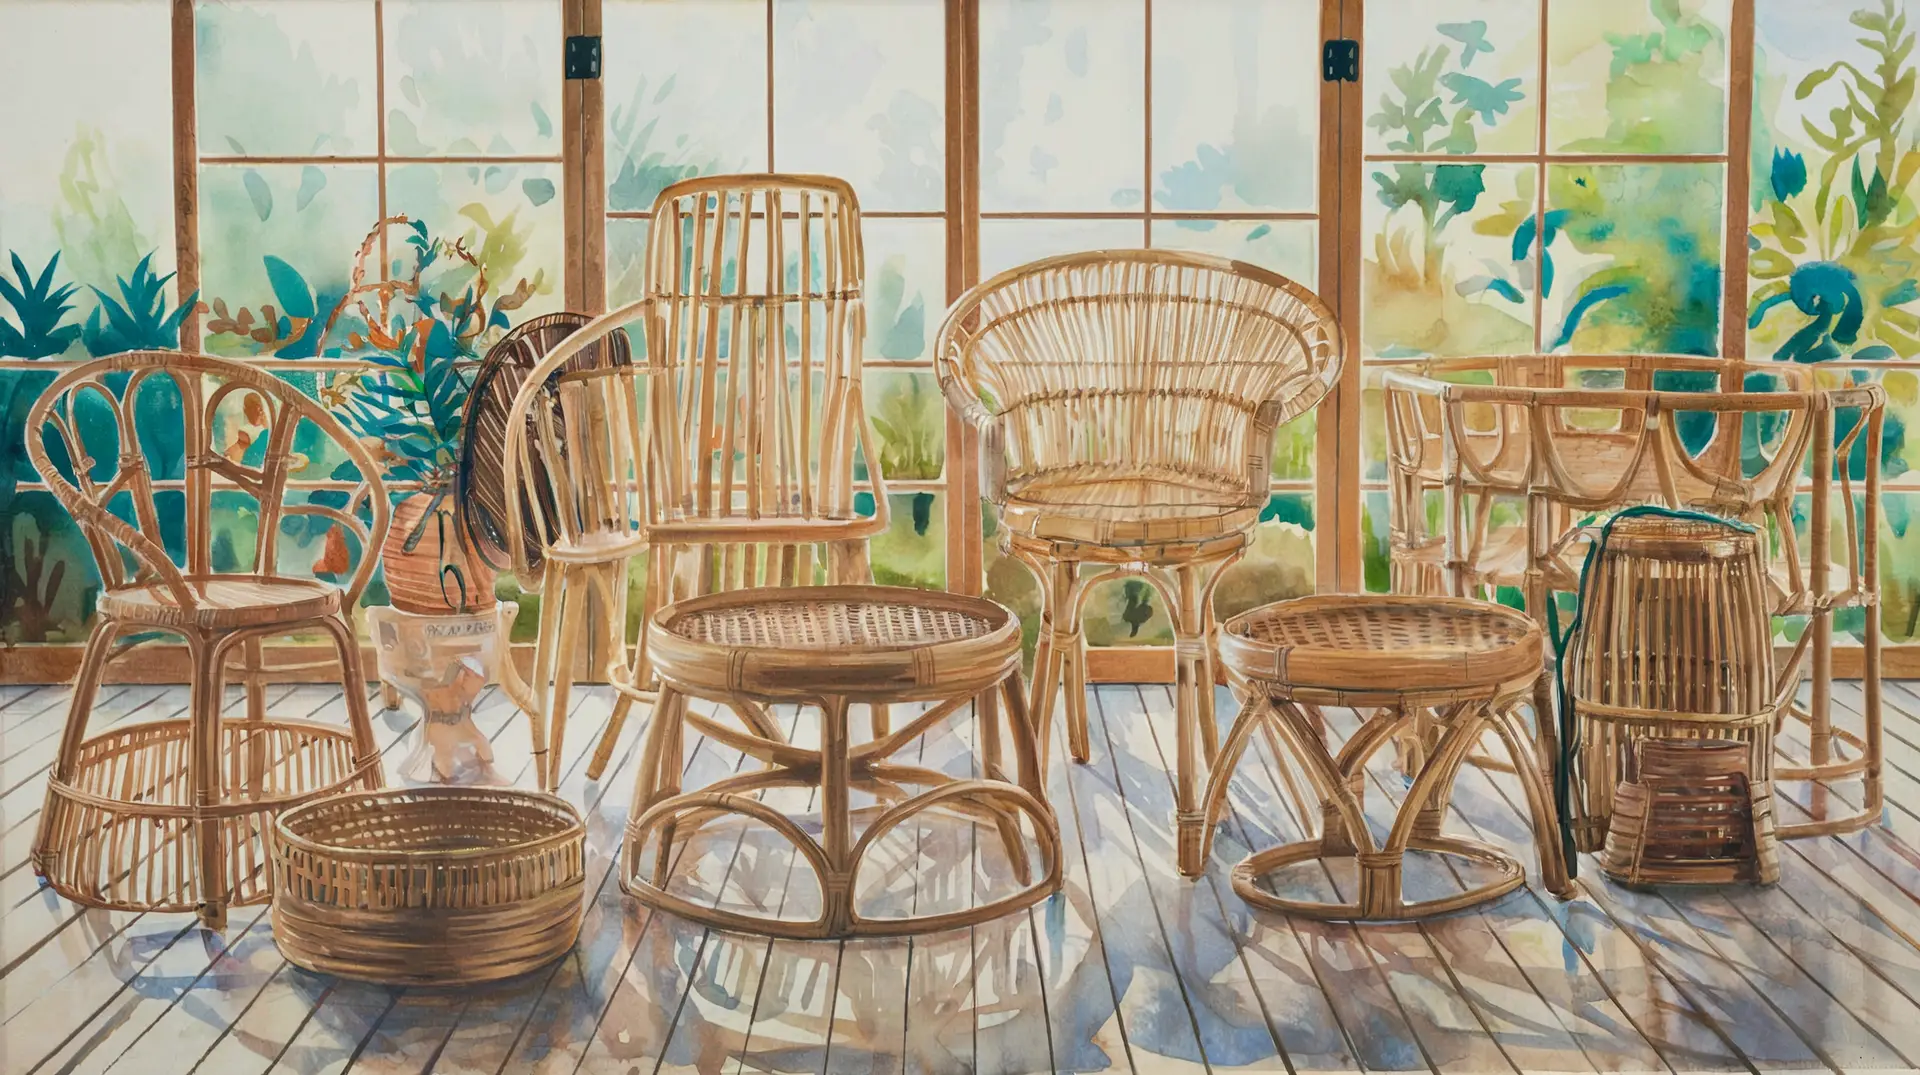
Somewhere between “I want my home to look like a sun-drenched Bali retreat” and “this old cabinet could really use a makeover,” lies the noble art...