Fishing aficionados know the importance of having the right gear at their side—organizing equipment efficiently, carrying everything comfortably,...

Ultimate PLUSINNO Fishing Backpack Review: The Perfect Companion for Every Angler!
read more
Fishing aficionados know the importance of having the right gear at their side—organizing equipment efficiently, carrying everything comfortably,...
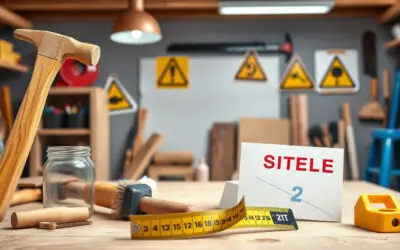
DIY home projects can be incredibly rewarding, allowing you to infuse your personal style into your living space.However, to achieve flawless...
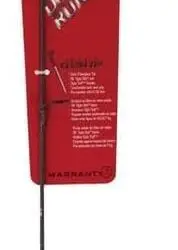
Fishing enthusiasts and beginners alike often seek gear that balances performance, durability, and affordability. The Ugly Stik Dock Runner Spinning...

Are you looking to breathe new life into your kitchen without breaking the bank?Our collection of simple DIY decor ideas for kitchens is the perfect...
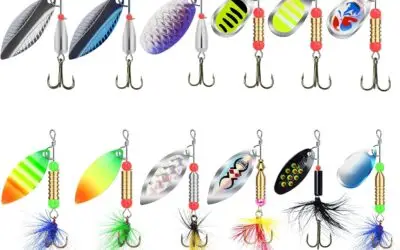
When it comes to fishing, having the right lure can make all the difference. Enter the TRUSCEND Swim or Jig Fishing Spinner Baits, designed for both...

Are you ready to give your kitchen a facelift without breaking the bank?If so, transforming your kitchen with stunning DIY countertops on a budget...