(Or: How to Attach Rattan to Flat Panels, Curved Surfaces, and Your Loftiest Aspirations)
Now that you’ve selected your materials, soaked your rattan (or given your synthetic a stern look), and chosen your weapon of attachment, it’s time to actually get the stuff on the furniture. This is the moment where good intentions meet gravity, and where “flat” is often a polite suggestion rather than a guaranteed fact when attaching rattan to flat panels.
Let’s start with the kindest surface of them all.
1. Flat Panels — The Rattan Beginner’s Playground
Attaching cane to flat wood is as close to a gentle introduction as you’ll get. No curves, no compound angles, no moments where you realise you’ve stapled yourself to a chair frame. This is essentially how you attach rattan to flat panels.
Common Projects:
- Cabinet door inserts
- Dresser drawer fronts
- The sides of something heavy and unloved you found in your aunt’s attic
Method:
- Soak cane (if it’s natural).
- Lay it over the opening, making sure the pattern is straight. This is surprisingly important — misaligned hexagons are the kind of thing that will haunt you quietly for years.
- Start attaching from the center of one side, then move to the opposite side and repeat. This keeps tension balanced.
- Work outward toward corners. Staple, glue, press — whichever method you’ve chosen.
- Trim excess. Add decorative trim if desired. Step back. Admire. Pretend you always knew what you were doing.
Fancy Tip: If you’re replacing a center panel in a cabinet door, you might staple the cane to the back rabbet, then cover the edge with a thin bead of molding. This creates a clean, professional look and hides the mess where you fumbled the scissors slightly. (We saw that. It’s fine.) To truly master how to attach rattan to flat panels, attention to detail is key.
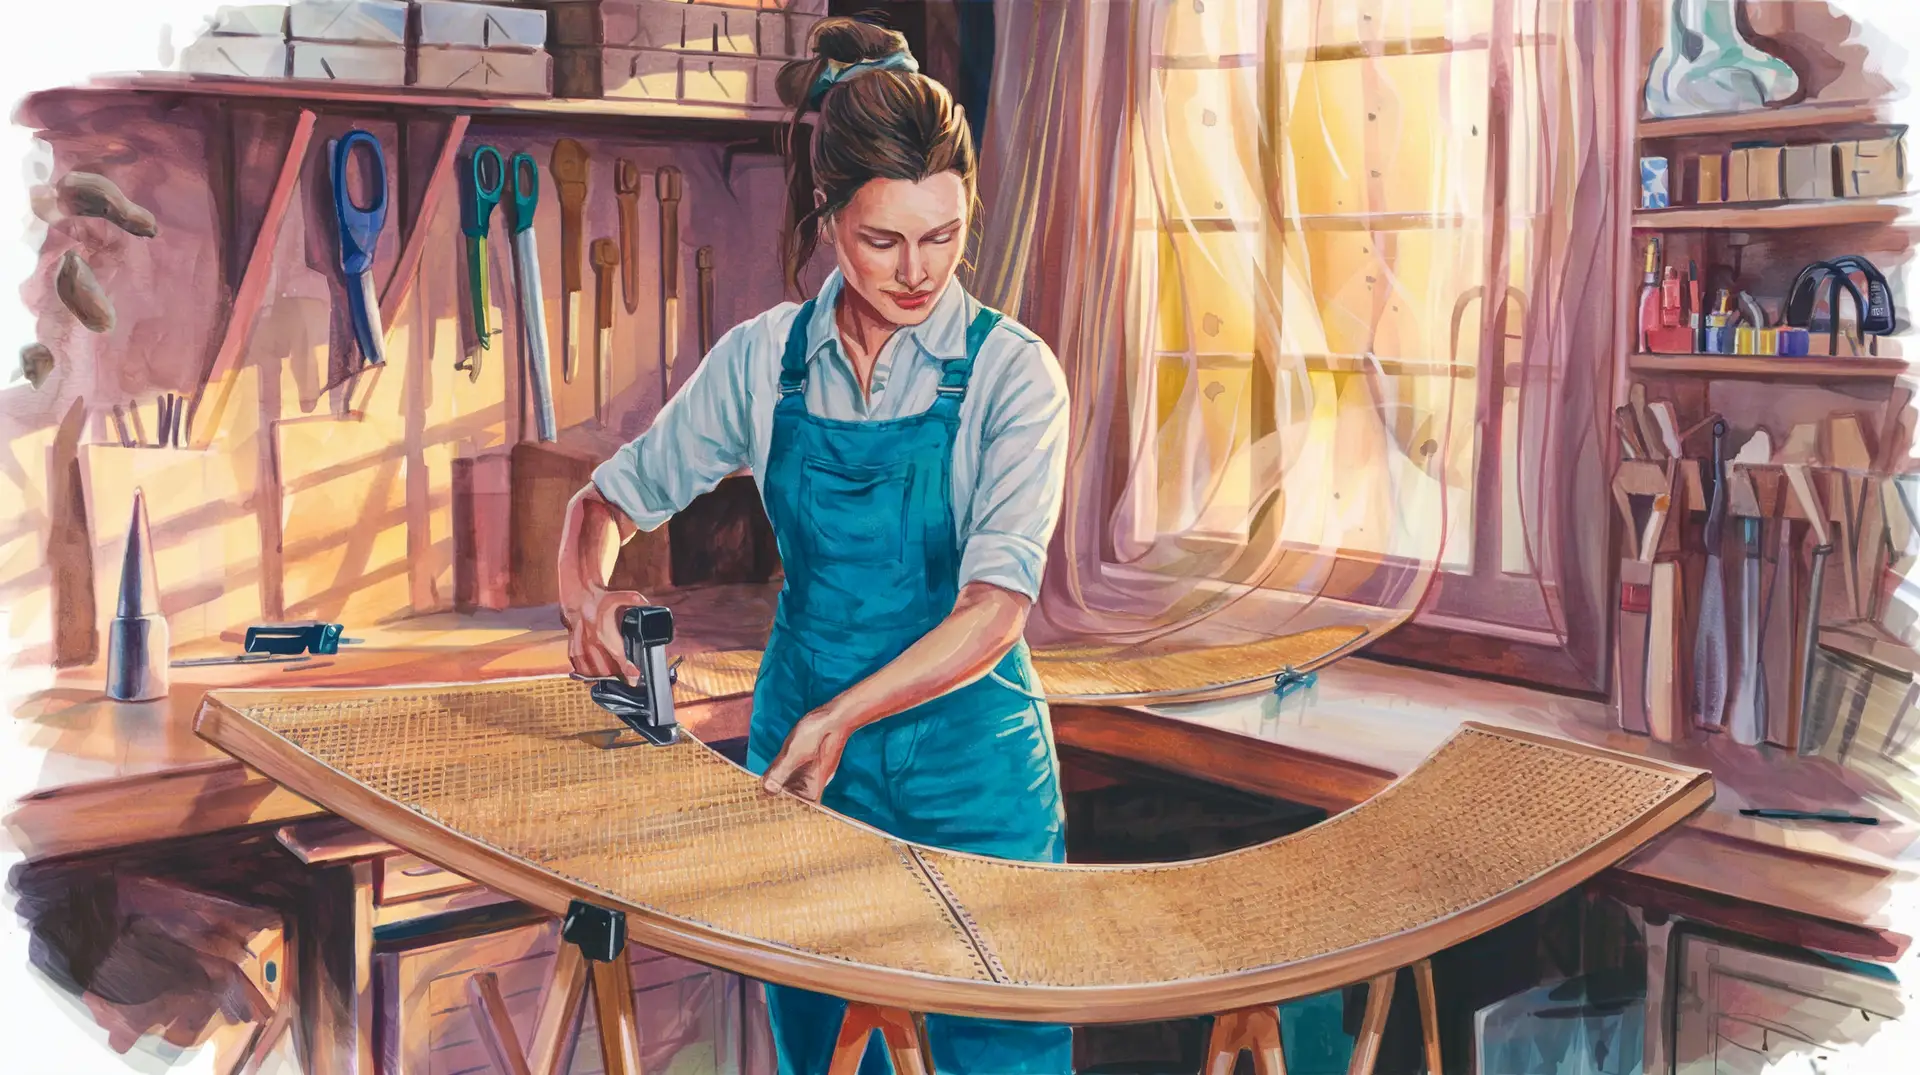
2. Curved Surfaces — The Advanced Course (With Extra Bending)
Now, curves. These are the surfaces that test your planning, your patience, and your opinion of physics.
Common culprits:
- Mid-century modern chair backs
- Rounded armrests
- “Barrel-back” chairs, which sound inviting and are secretly architectural puzzles
For Outward Curves (Convex):
Cane bends better than you’d expect when wet — kind of like rules at a family reunion. Start in the middle, staple or glue a bit, then stretch gently around the curve. Don’t tug like you’re trying to win a tug-of-war — just coax it along when you attach rattan to flat panels.
Relief cuts in the extra margin (not the visible area!) can help the cane sit better around the edges.
For Inward Curves (Concave):
Cane does not want to stay inside a curve. It will fight you. Hard. Here, splines and grooves are your friends. Press the wet cane into the groove and tap in the spline with glue — the same way you might gently convince a feral cat that the carrier isn’t a trap.
Clamps are essential. Also, possibly an extra set of hands. Or two. Or a helpful teenager you can bribe with snacks.
3. Large Panels and Walls — The Statement Pieces
Rattan is increasingly being used for things like:
- Accent walls
- Room dividers
- Headboards that whisper boho chic into your dreams
In these cases, think big — but also think modular. It’s often easier to mount cane onto a plywood or wood frame first, then attach that to your wall. That way, if you misalign something, you’re not explaining to your landlord why there’s glue behind the TV when you attach rattan to flat panels.
You can:
- Stretch the cane over a large wooden frame like an artist’s canvas
- Glue it onto thin plywood sheets
- Add a surrounding trim to hide the sins of alignment when you attach rattan to flat panels
Just remember: the bigger the surface, the more likely the cane is to warp as it dries — especially if it’s natural and has dreams of turning into a drum. Weight it down well while drying, or be prepared for a gentle ripple effect that makes your panel look permanently surprised.