(Also known as: Glue, Staples, Rattan sheets, and Other Mildly Dangerous Tools of Domestic Transformation) So. You’ve got your wood — clean, smugly...
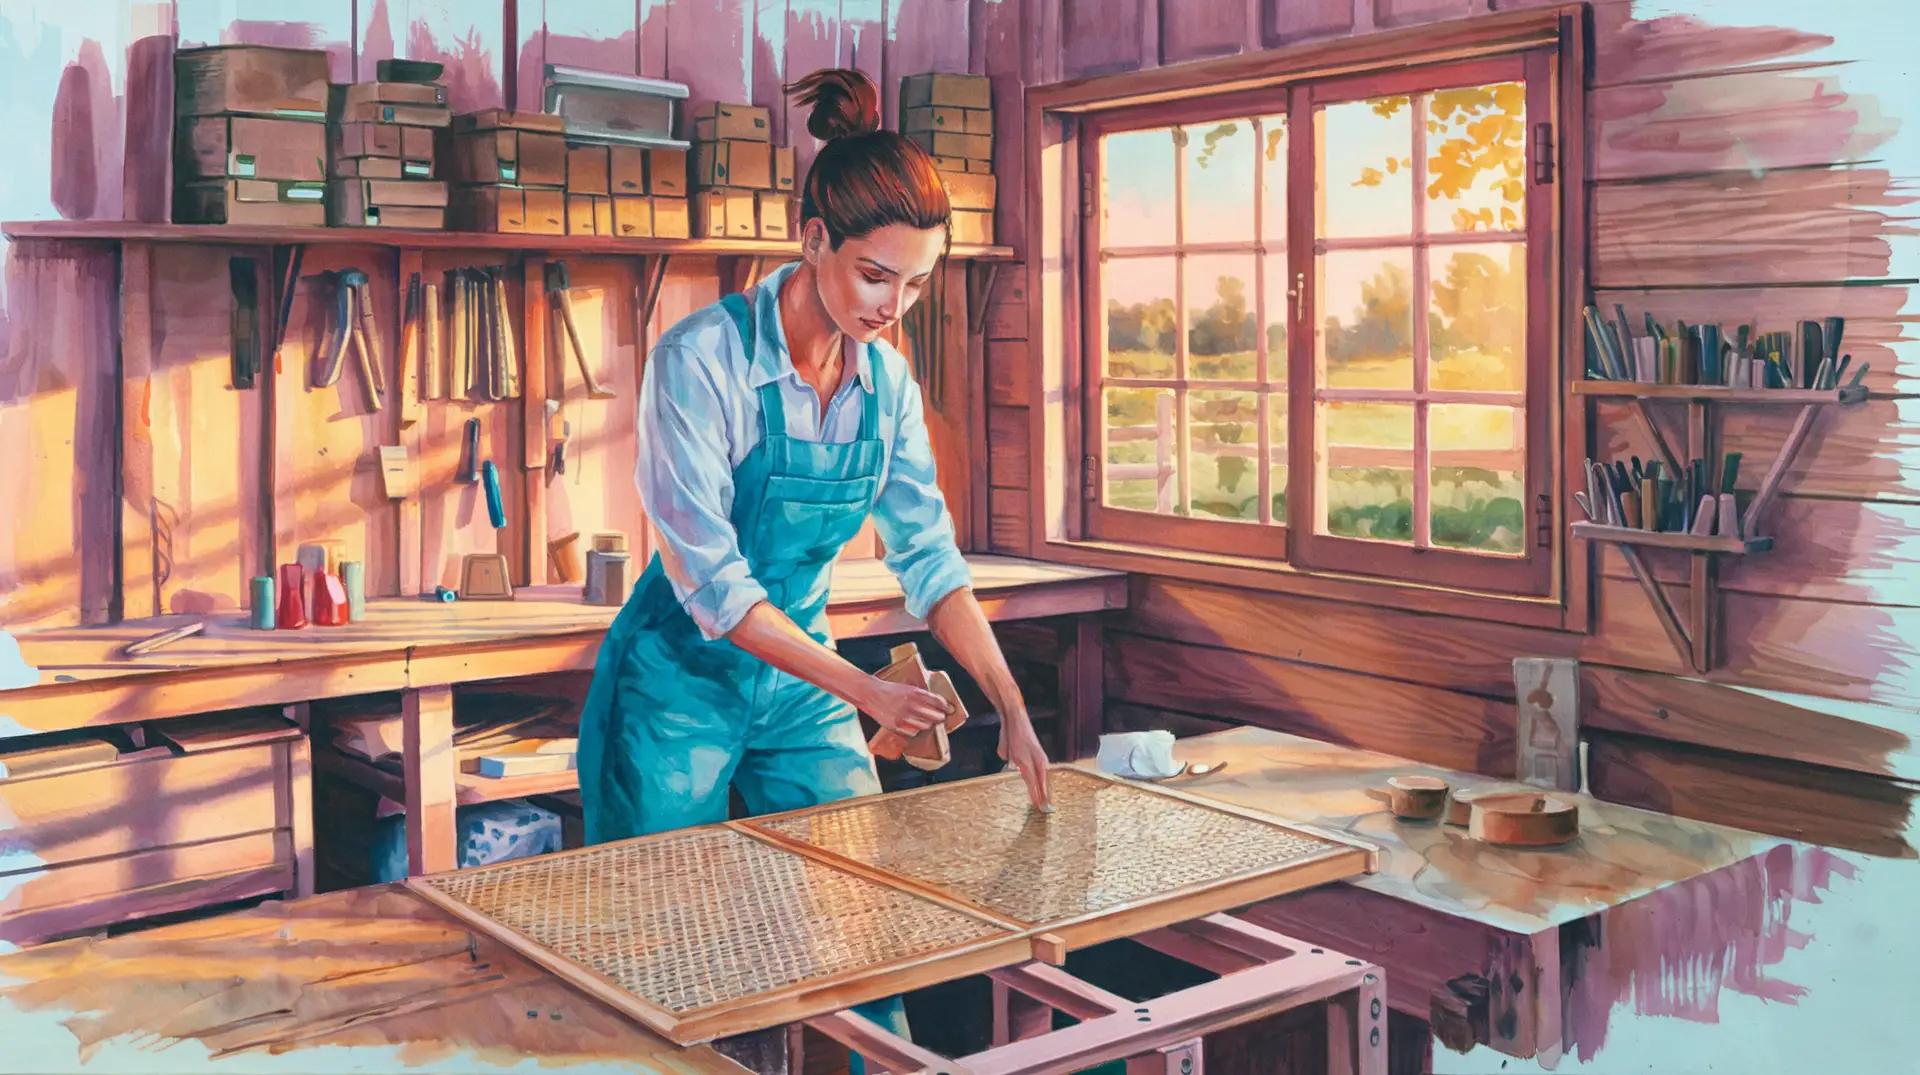
Attachment Methods
read more
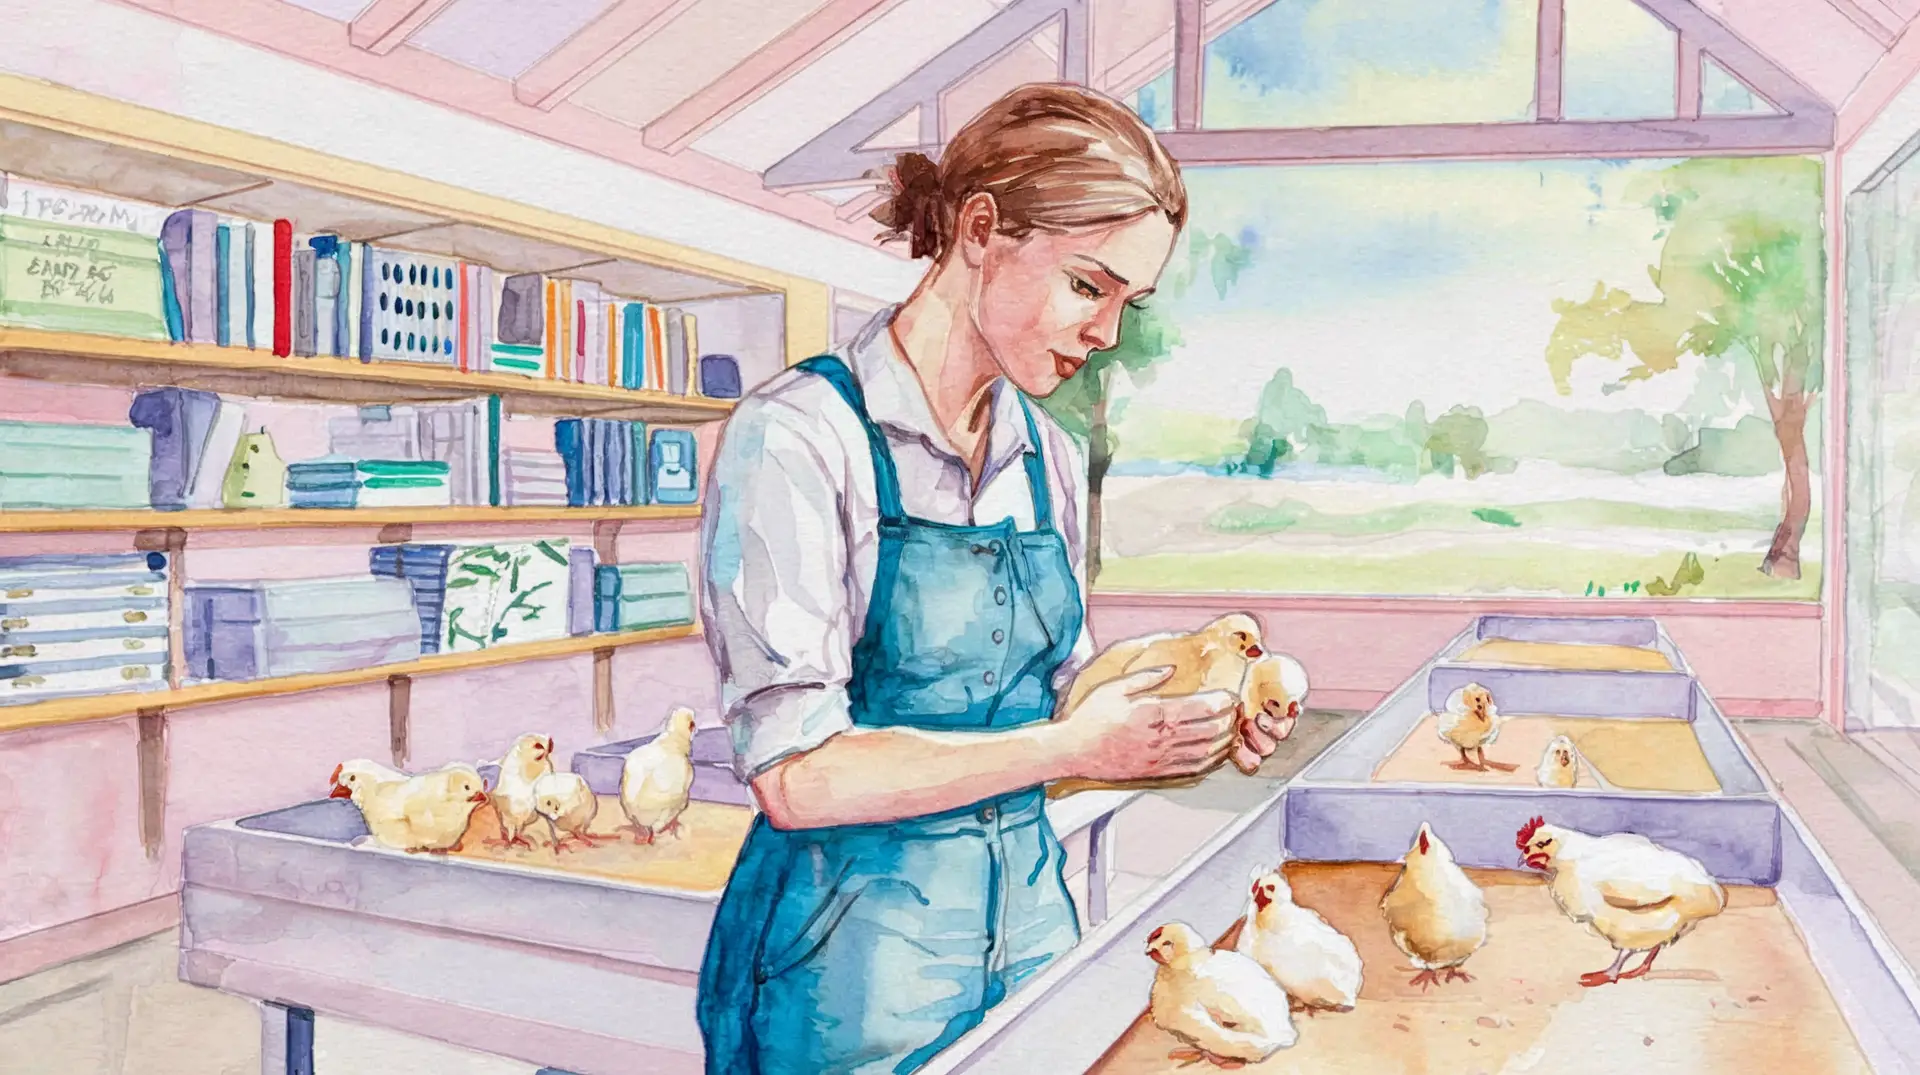
The Not-So-Mad Science of Chicken Breeding: A Backyard Guide with Feathers, Genes, and a Dash of Wit Introduction: Genetics, Grit, and a Cup of Tea...
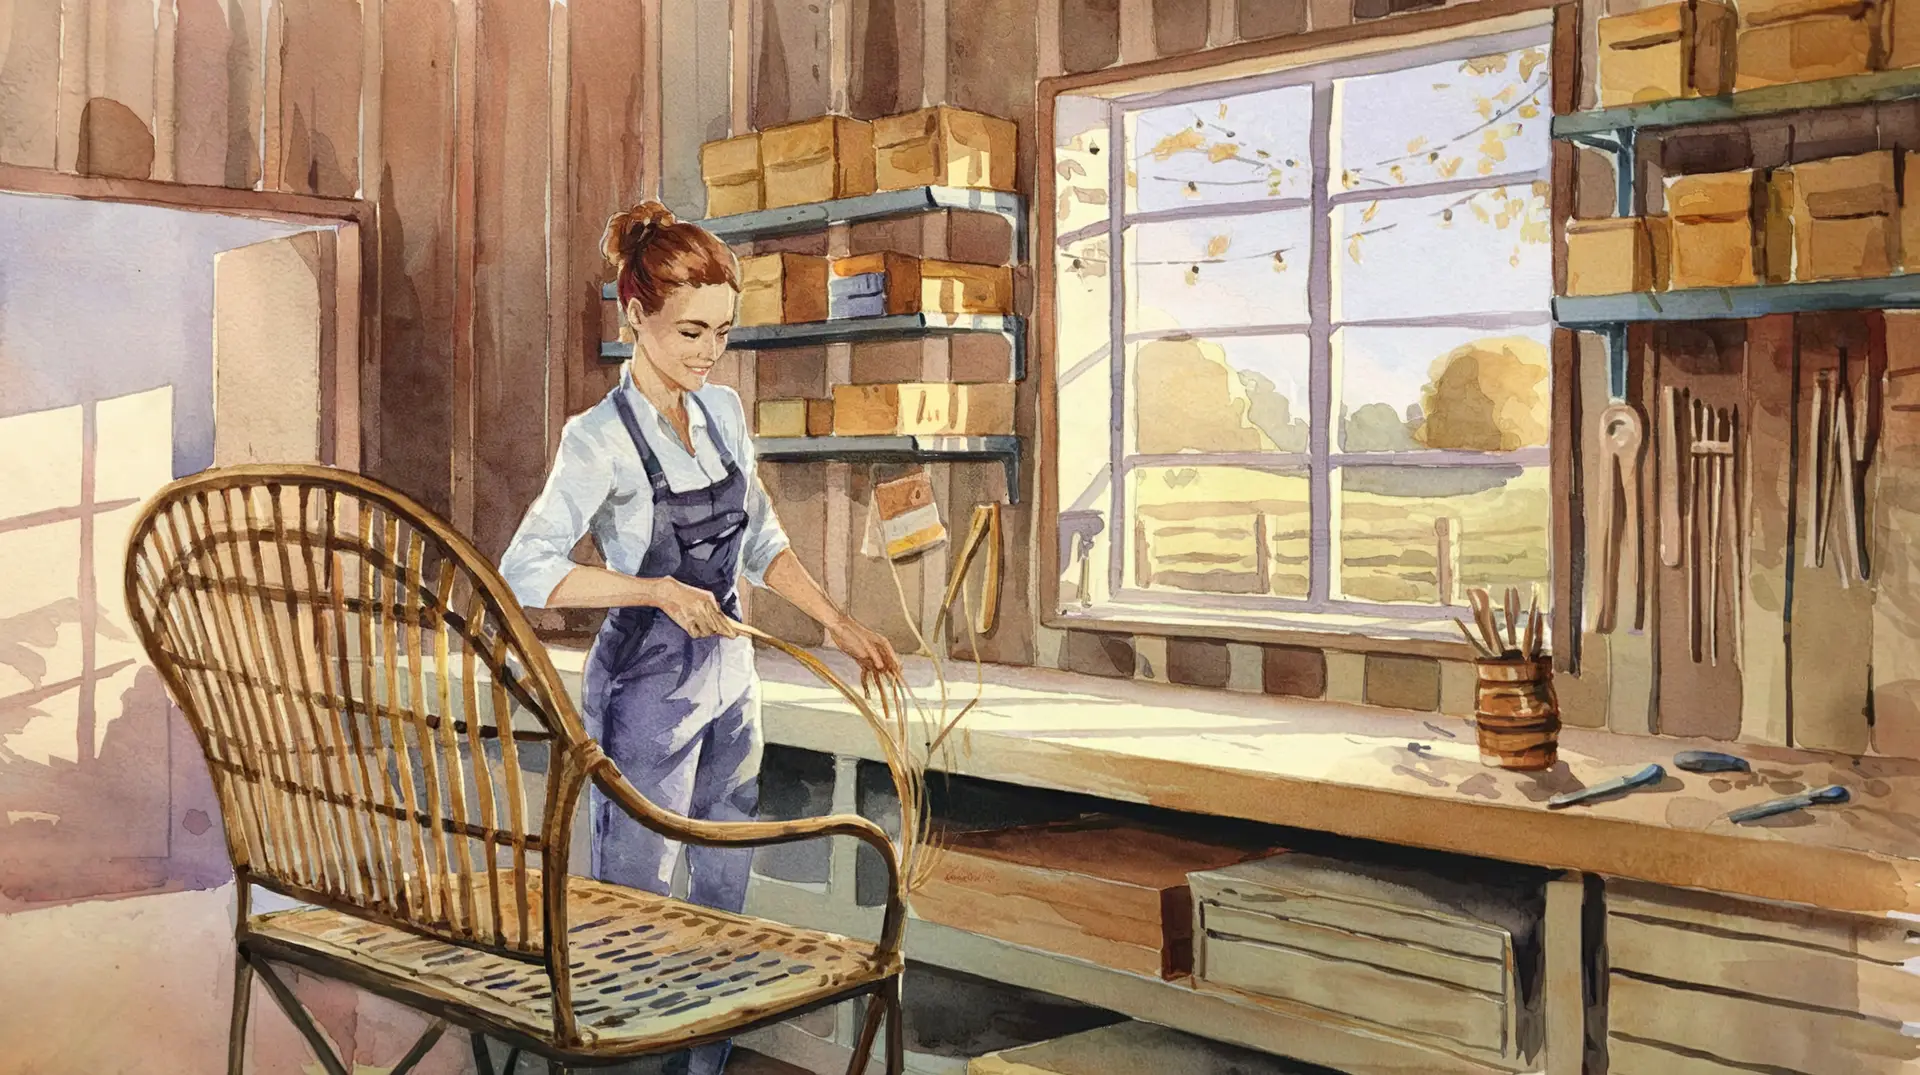
Somewhere between “I want my home to look like a sun-drenched Bali retreat” and “this old cabinet could really use a makeover,” lies the noble art...
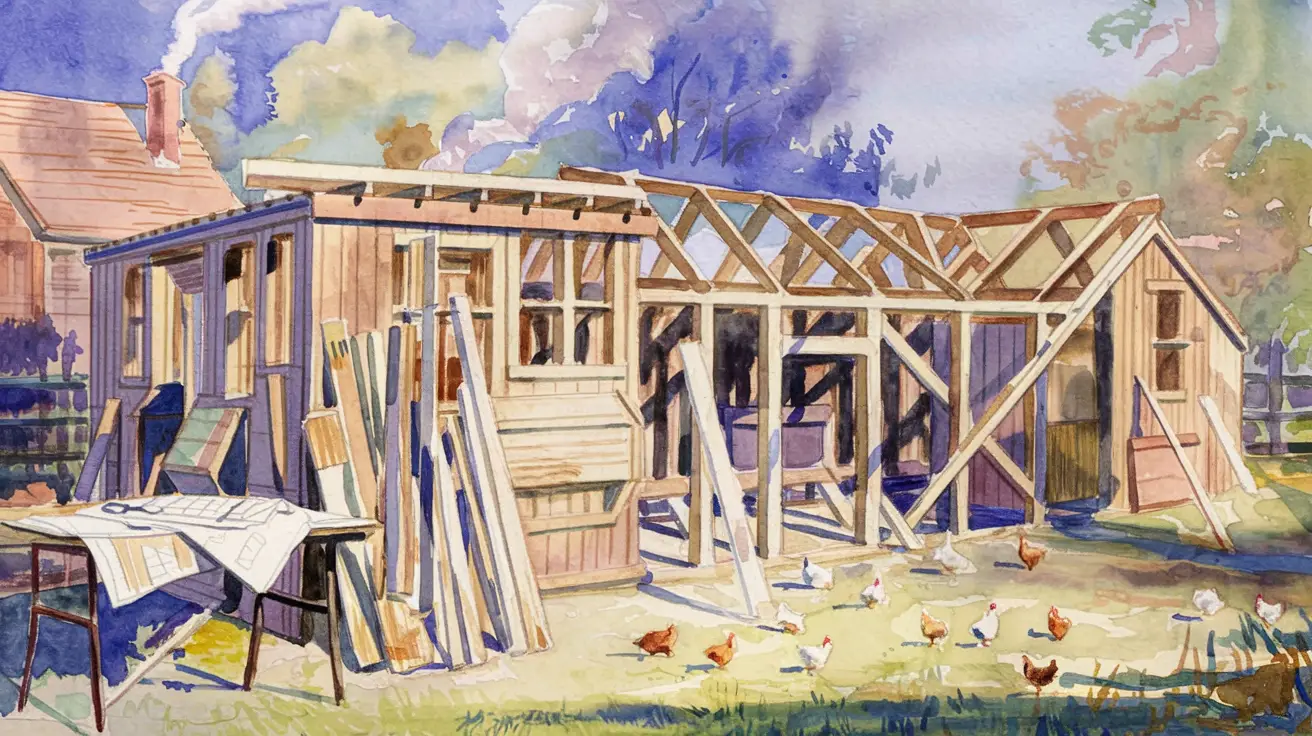
Creating the Ideal Chicken Coop & Run Your chickens’ living quarters (coop and run) are where your self-sufficiency dreams meet practical...
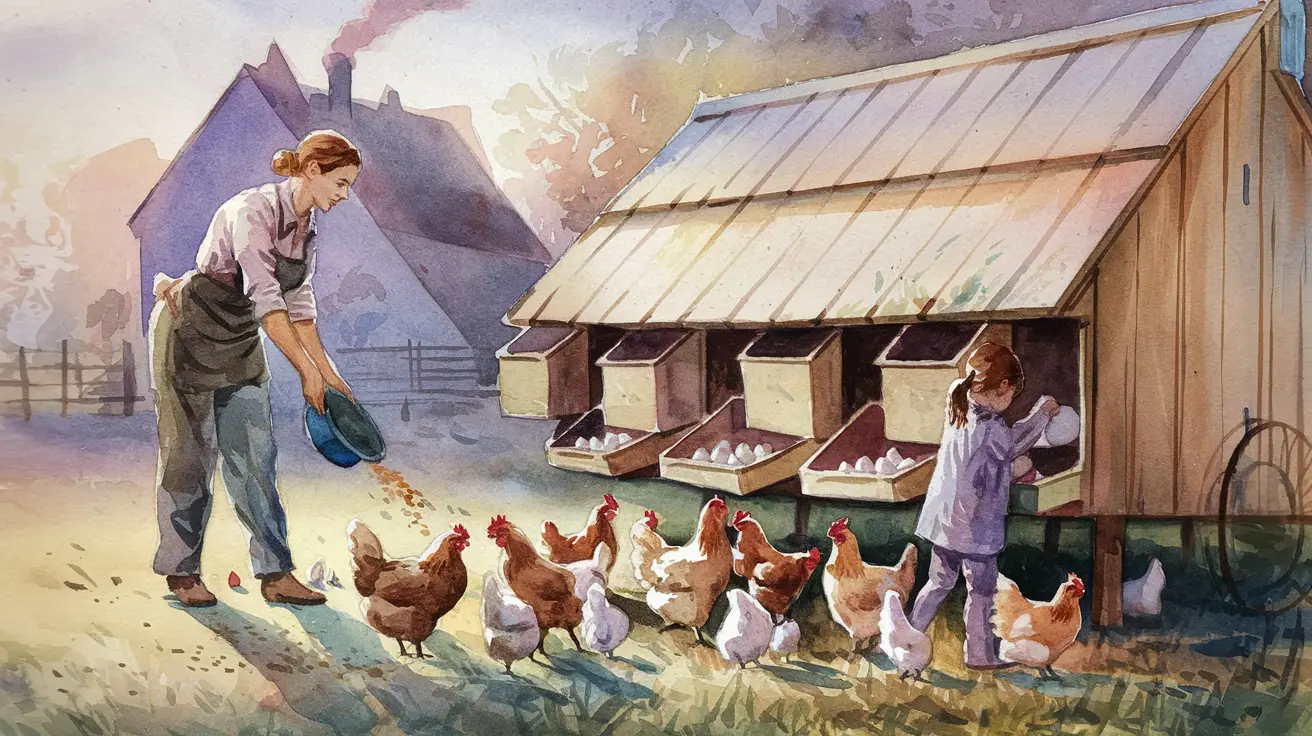
A Day in the Life of a Chicken Keeper Caring for chickens is a daily adventure in routine and surprise. Each morning, your hens expect you (their...
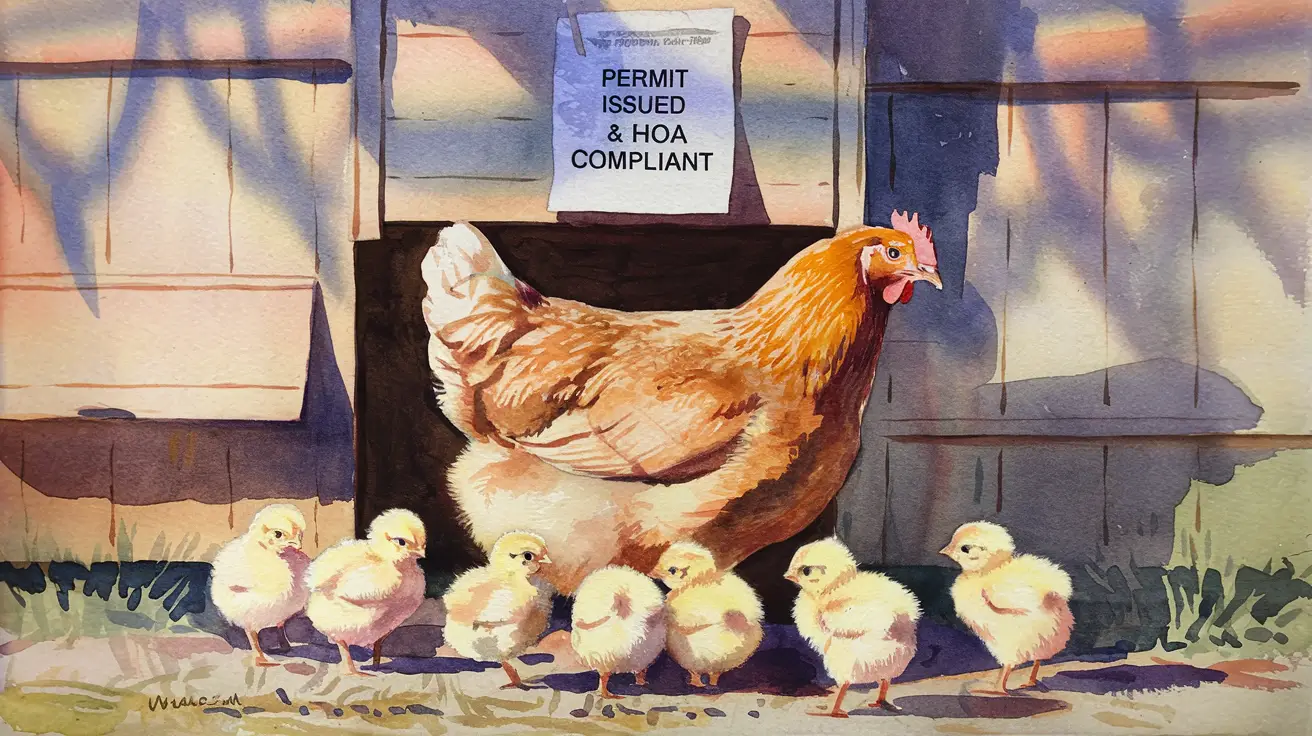
Keeping chickens may feel like a quaint hobby, but it often comes with a side of legal fine print. In the United States, local regulations for...