Discover the best backyard solar techniques and tips for 2025. Learn practical advice to optimize your solar energy setup without compromising...
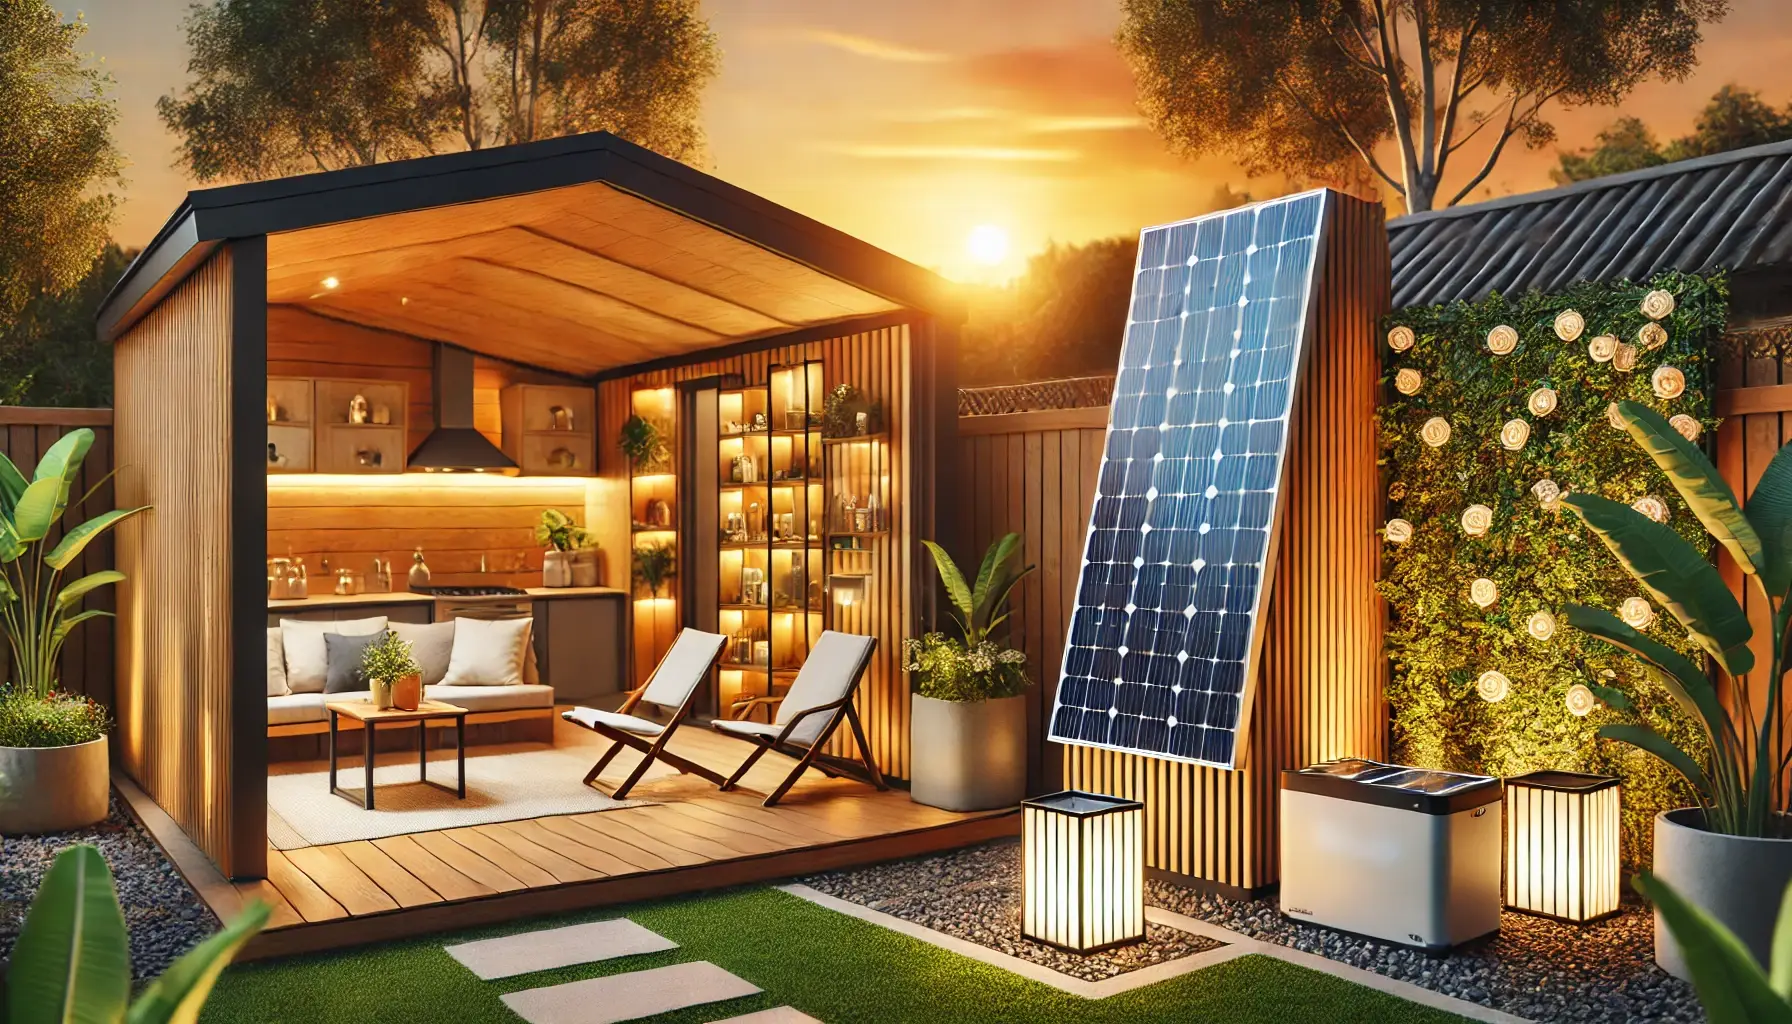
Guide to Backyard Solar Without Sitting in the Dark:
read more
Discover the best backyard solar techniques and tips for 2025. Learn practical advice to optimize your solar energy setup without compromising...
Choose the Right Solar Panels] is more than just an activity—it’s an opportunity to [desired outcome]. Apply these tips, stay consistent, and see the results for yourself in 2025!
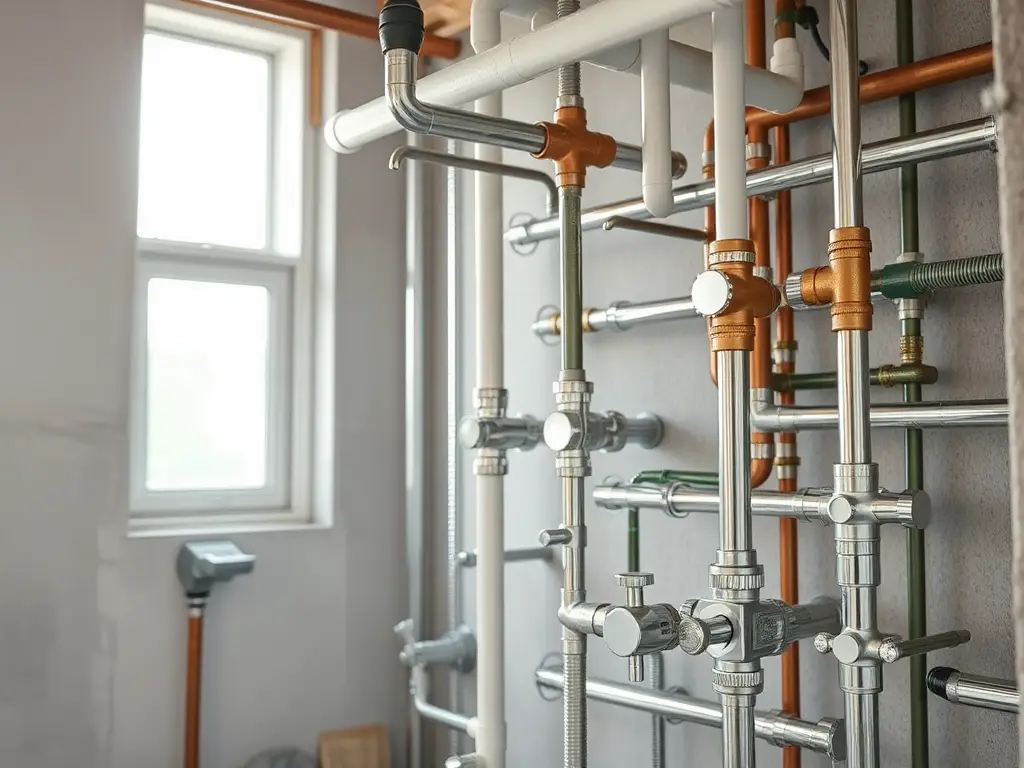
In 2025, plumbing a new house involves varied costs based on size, layout, fixtures, materials, and labor. Average expenses range from $8,000 for basic homes to $30,000 for luxury builds. Effective planning, cost-effective materials, multiple quotes, and hiring qualified plumbers are essential for managing expenses while ensuring quality installation.
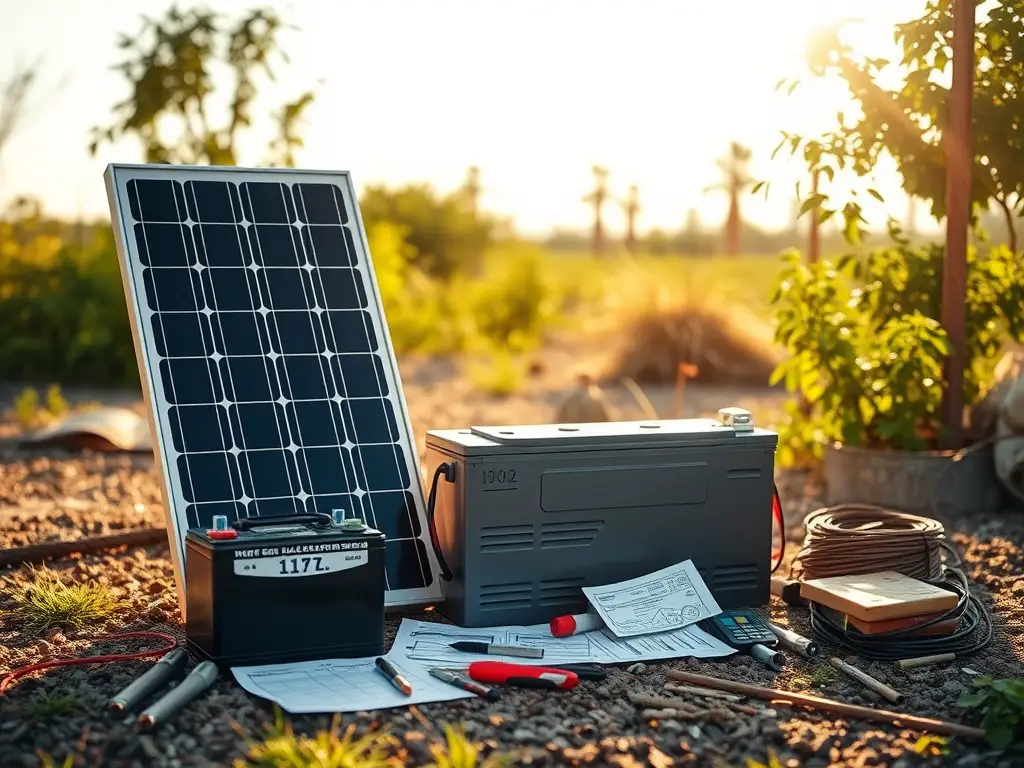
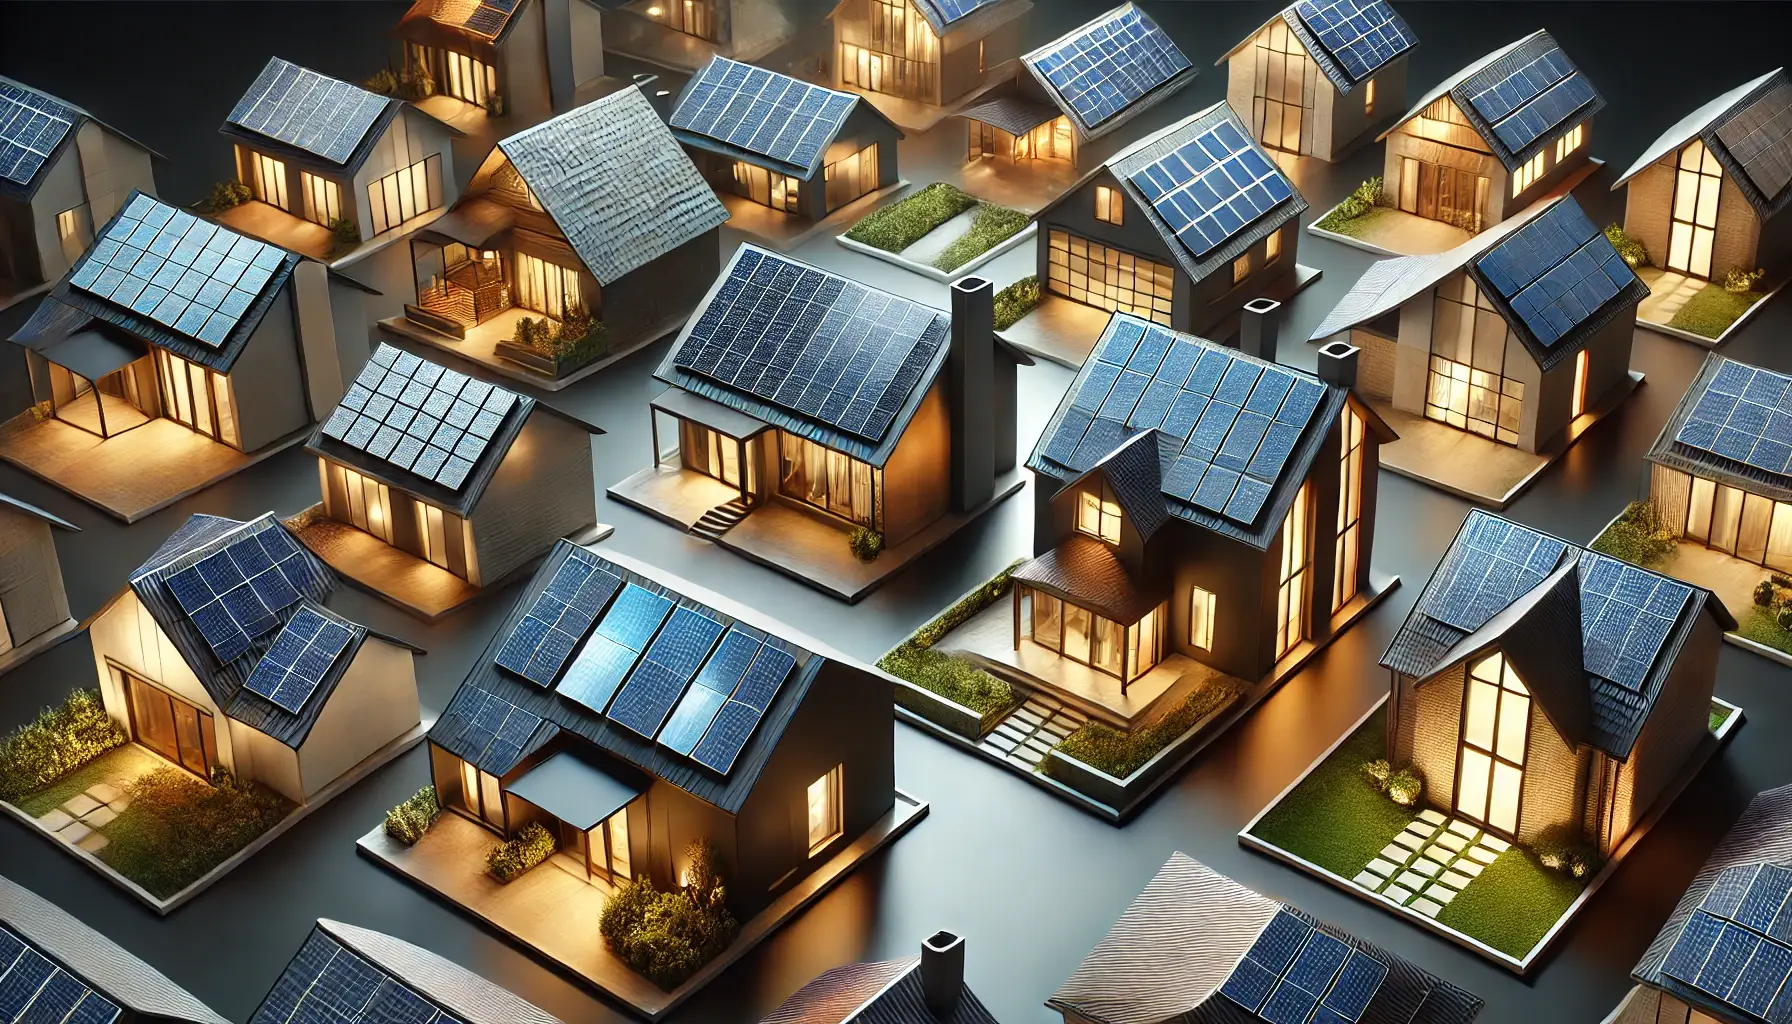
How to Build a Small DIY Solar System (Without Losing Your Mind)

The article evaluates the viability of DIY solar power systems, specifically the Backyard Revolution model. It outlines the cost benefits, noting that while professional installations range from $15,000 to $25,000, DIY projects can be completed for $1,000 to $3,000. Homeowners can save significantly on electricity bills, recouping their investment in just over two years. The piece addresses challenges in installation, emphasizes proper planning and permits, and concludes that DIY solar power is a sensible choice for energy independence.

This post features the top 5 fishing kayaks available on Amazon, highlighting their quality, durability, and value. Recommendations include the Pelican Sentinel 100X for overall use, Intex Excursion Pro for inflation, Lifetime Tamarack Angler for budget buyers, Perception Pescador Pro for stability, and Old Town Sportsman for premium performance.